Create Integration Run
An integration run executes the Integration and delivers data to the target system. You can create an on demand run for an integration in the Integrations module.
You can also create an extract run, which performs the same function as an integration run, in the Extracts module. Refer to Create Extract Run for more information.
Runs can be scheduled in the Run Manager Module.
Complete the following steps to create an integration run:
-
Select GTV-Connector from the Gotransverse application menu
 .
.
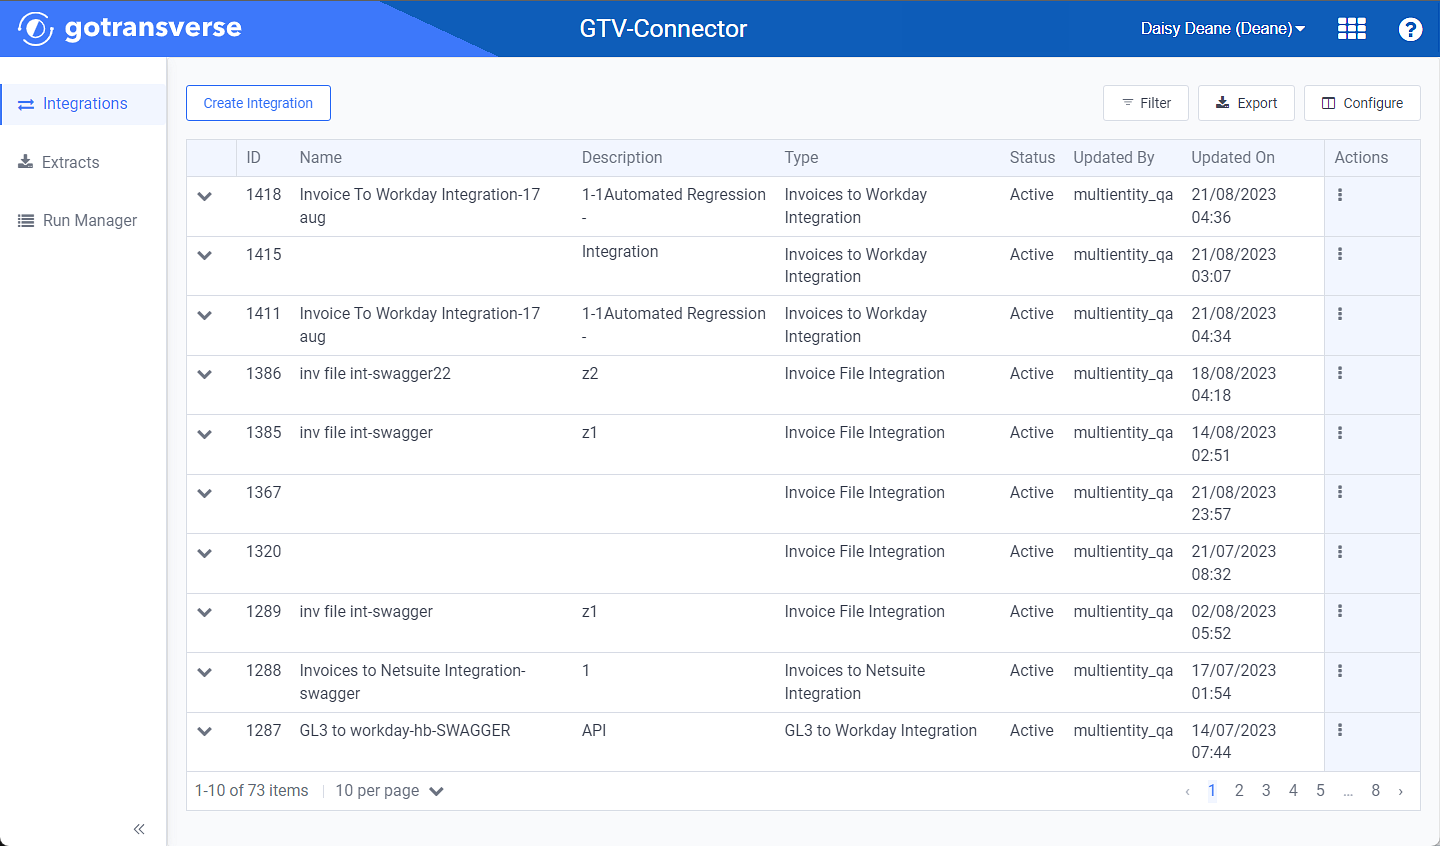
Integrations Window
Click the
 icon in the left pane to hide it. Click the
  icon to open it.
You can manage which columns display in any table with a Configure or Columns button by clicking the button and selecting desired columns. In addition. If the table includes a Filter button, you can filter the table contents. If the table includes an Export button, you can export visible table contents (up to 50) to a CSV (comma-separated values) file. Refer to Data Tables for more information about using these features.
-
Click an integration name to open an Integration Details window.
Use the breadcrumb links to return to a previous window.

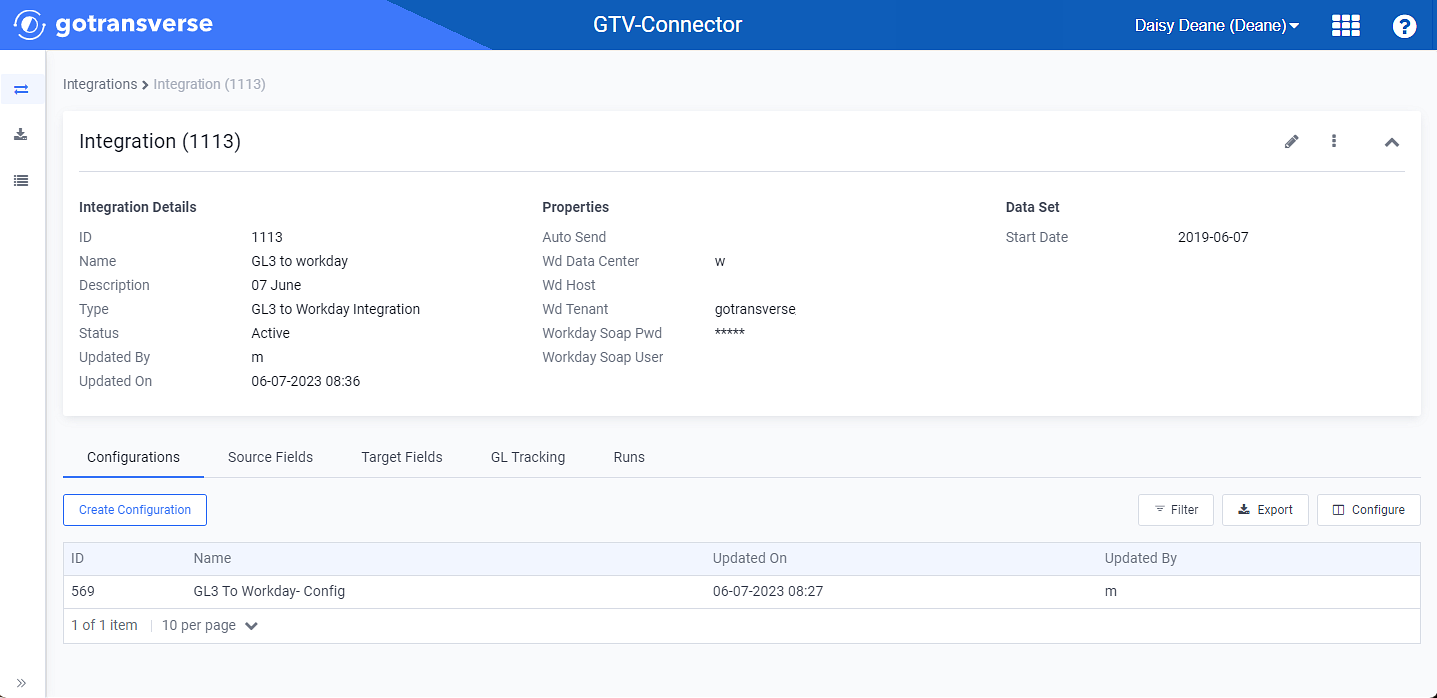
Integration Details Window
-
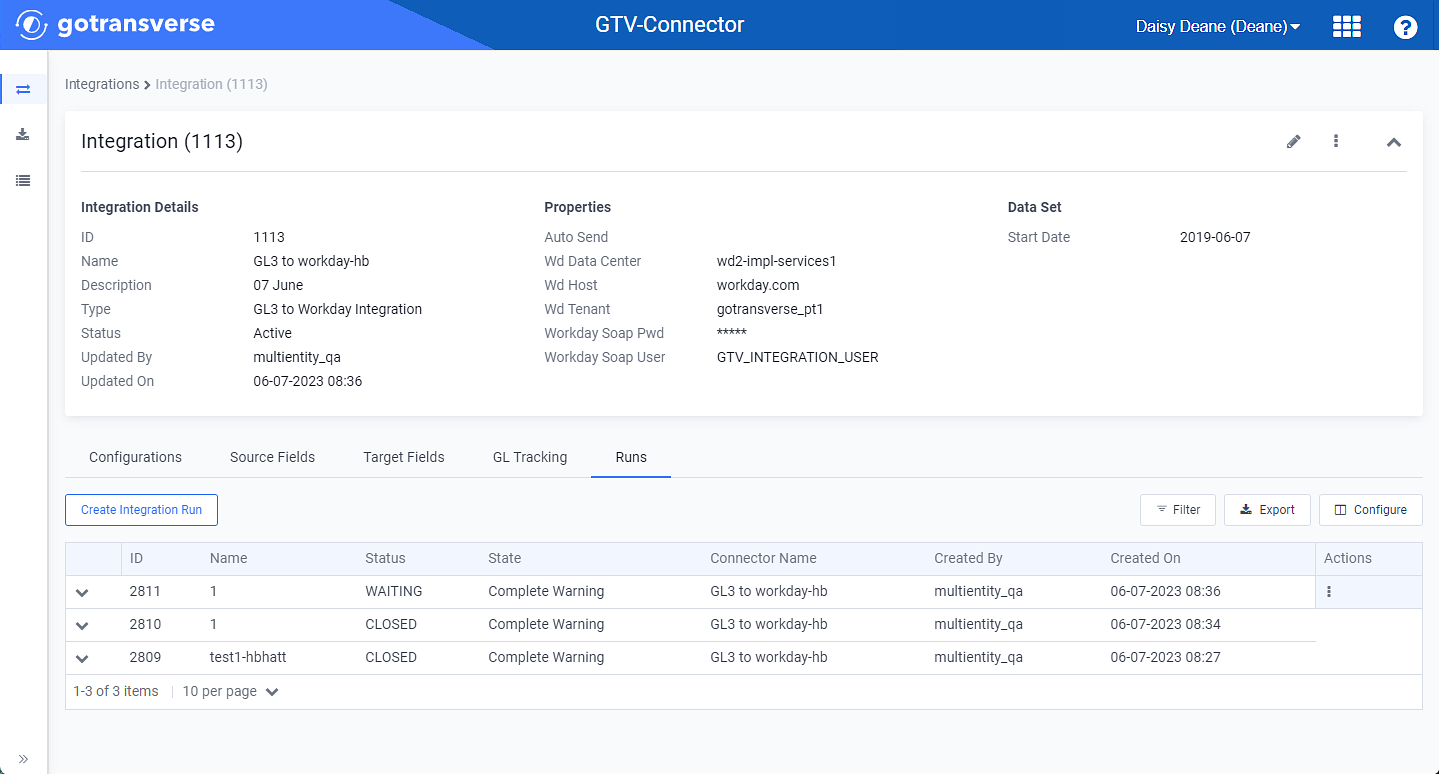
On the Integration Details window, click the Runs detail tab.

Integration Details Window - Runs Detail Tab
-
Click the Create Integration Run button to open the Create Configuration Run window.
-
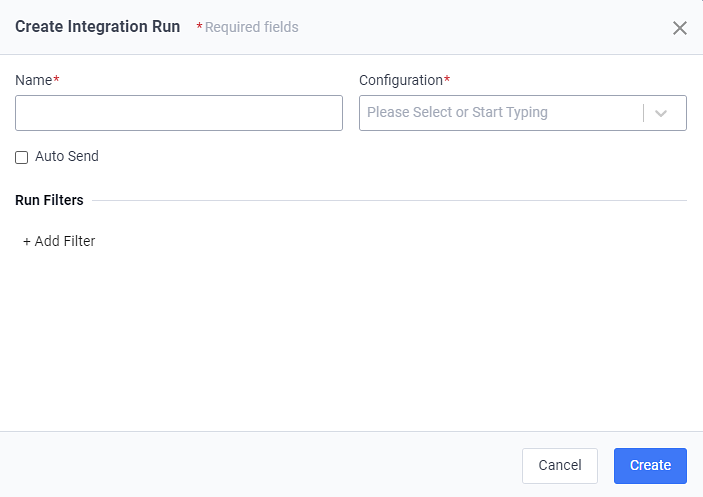
On the Create Configuration Run window, enter the required and relevant information:

Create Configuration Run Window
Required fields are marked with an asterisk.
-
Name* — Enter a name for the new integration run.
-
Configuration* — Select a configuration from the drop-down list or enter the first letters of the configuration to display specific configurations (refer to Create Configuration for details on how to create configurations for an integration).
-
Auto Send checkbox — Select the checkbox to automatically send the integration after you click the Create button.
-
Run Filters — Click +Add Filter to add a filter to specify a start and/or end date to view data from a specific date range. Include a Source Field and Value in the respective fields.
Click +Add Filter to add additional filters.
-
-
Click Create create the integration run.
Topic updated: 12/2023.