Manually Run AR Ledger
The AR ledger process, also known as the AR ledger run, creates transactions in your AR ledger by applying the posting rule set assigned to the AR ledger to the new charge info records created from the collector run. You will need to follow the instructions below for each AR ledger for which you want to generate transactions.
Complete the following steps to manual run the AR ledger:
-
Select Revenue Management from the Gotransverse application menu
 .
. -
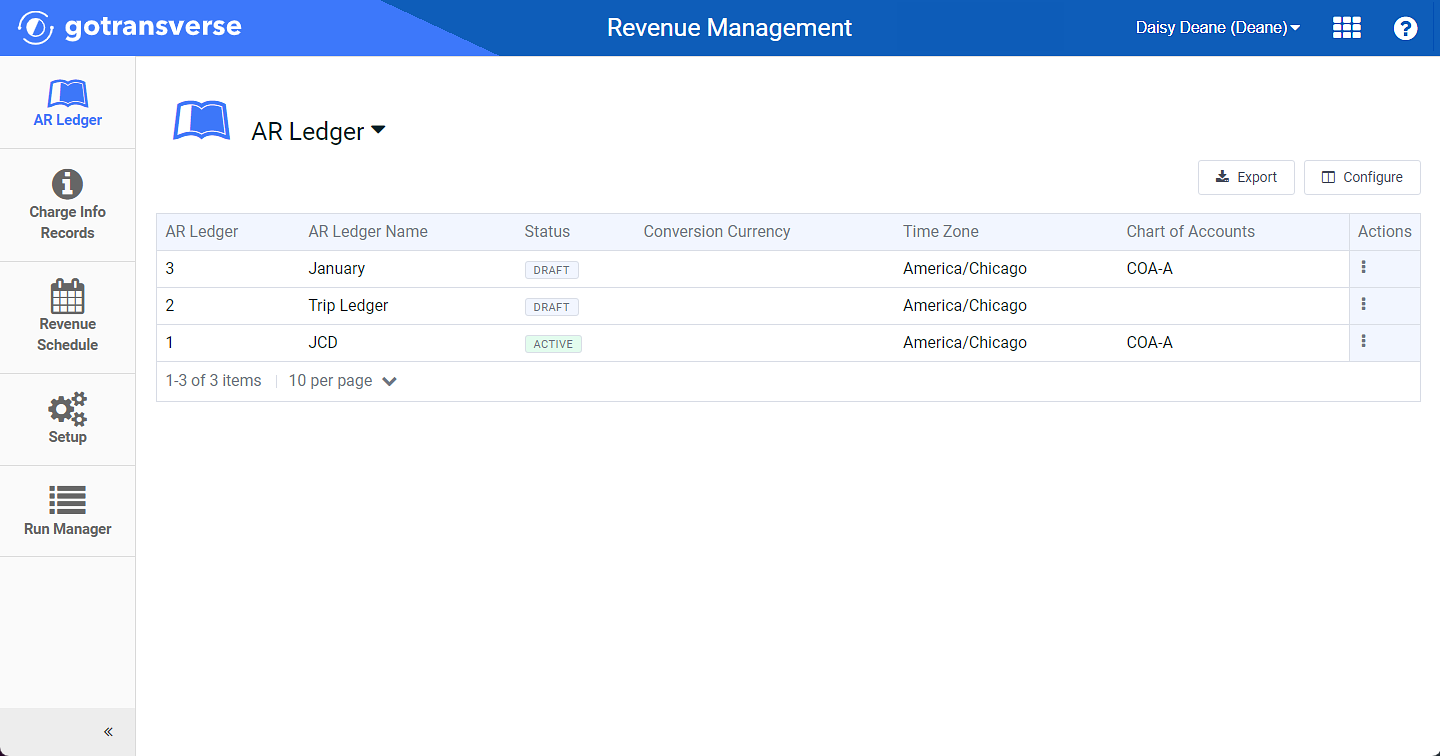
Click AR Ledger in the left pane.

AR Ledger Window
Click the
 icon in the left pane to hide it. Click the
  icon to open it.
You can manage which columns display in any table with a Configure or Columns button by clicking the button and selecting desired columns. In addition. If the table includes a Filter button, you can filter the table contents. If the table includes an Export button, you can export visible table contents (up to 50) to a CSV (comma-separated values) file. Refer to Data Tables for more information about using these features.
-
Complete one of the following to run an AR Ledger:
-
For the AR Ledger you wish to run, click the
 in the Actions column and select Run AR Ledger from the menu.
Run AR Ledger Option
-
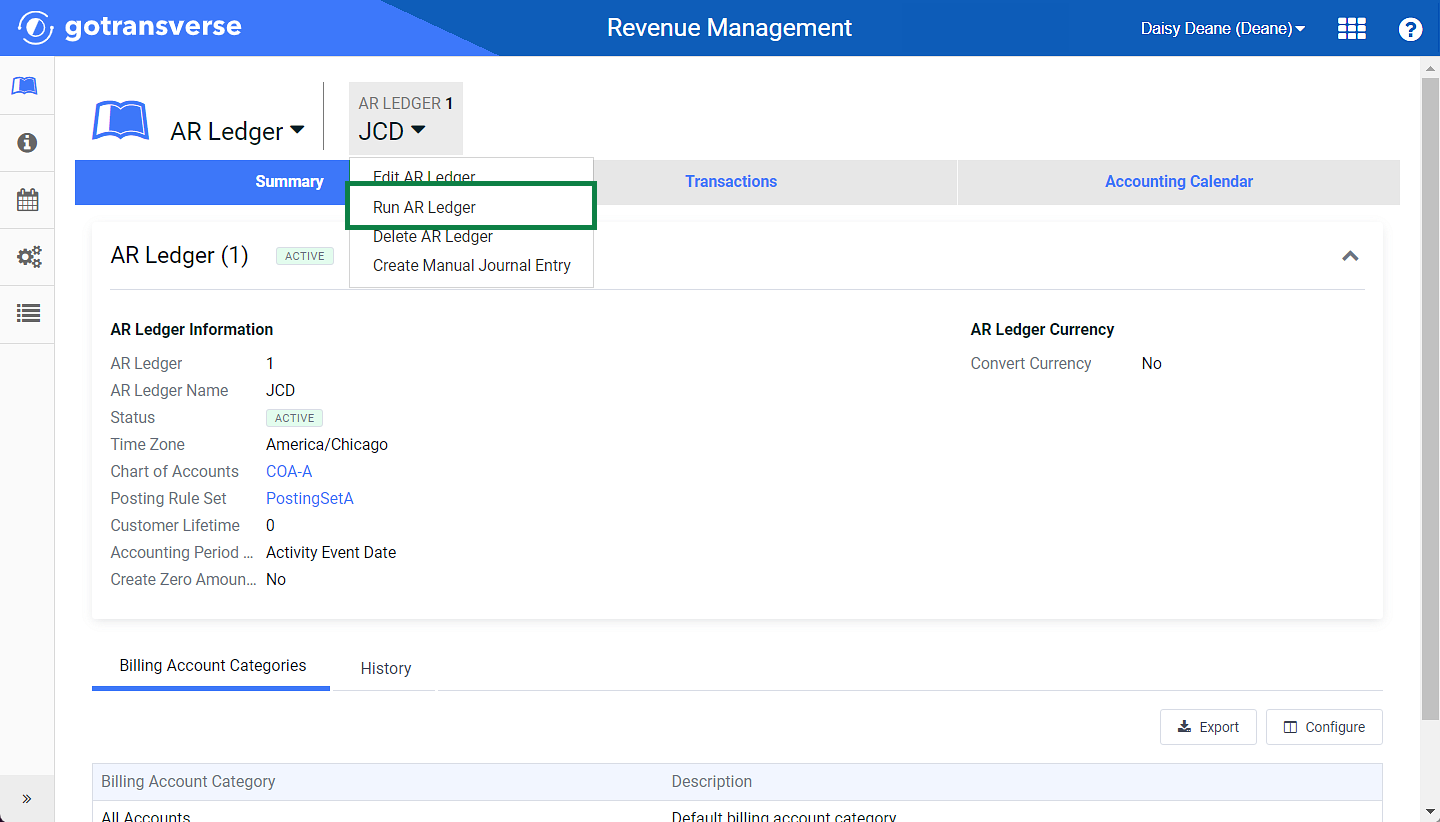
OR, select an AR Ledger from the list to open the AR Ledger detail window. Select Run AR Ledger from the AR Ledger drop-down menu.

AR Ledger Drop-down Menu - Run AR Ledger Option
-
-
Click Yes to start the process of generating transactions.
When the AR ledger run process is done, new transactions are added to the list of transactions found in the AR ledger. Navigate to the list of transactions by selecting the Transactions tab in the AR Ledger window.
View status and other information about the AR Ledger run on the Revenue Management Run Manager Module window.