Create Accounting Years and Accounting Periods
You have two options when creating accounting years if you did not auto generate them during creation:
-
Create an accounting year that auto-generates monthly accounting periods. You can edit the start and end dates of the periods after they are auto-generated. For example, if your month end dates vary slightly, you can adjust the end dates of the accounting periods after you auto-generate them, but before you save the accounting year.
-
Create an accounting year and manually add accounting periods to the year. For example, if your fiscal year follows a 4-4-5 format, you can edit the start and end dates of each accounting period as you add the accounting period.
Complete the following steps to create an accounting year and accounting periods:
-
Select Revenue Management from the Gotransverse application menu
 .
. -
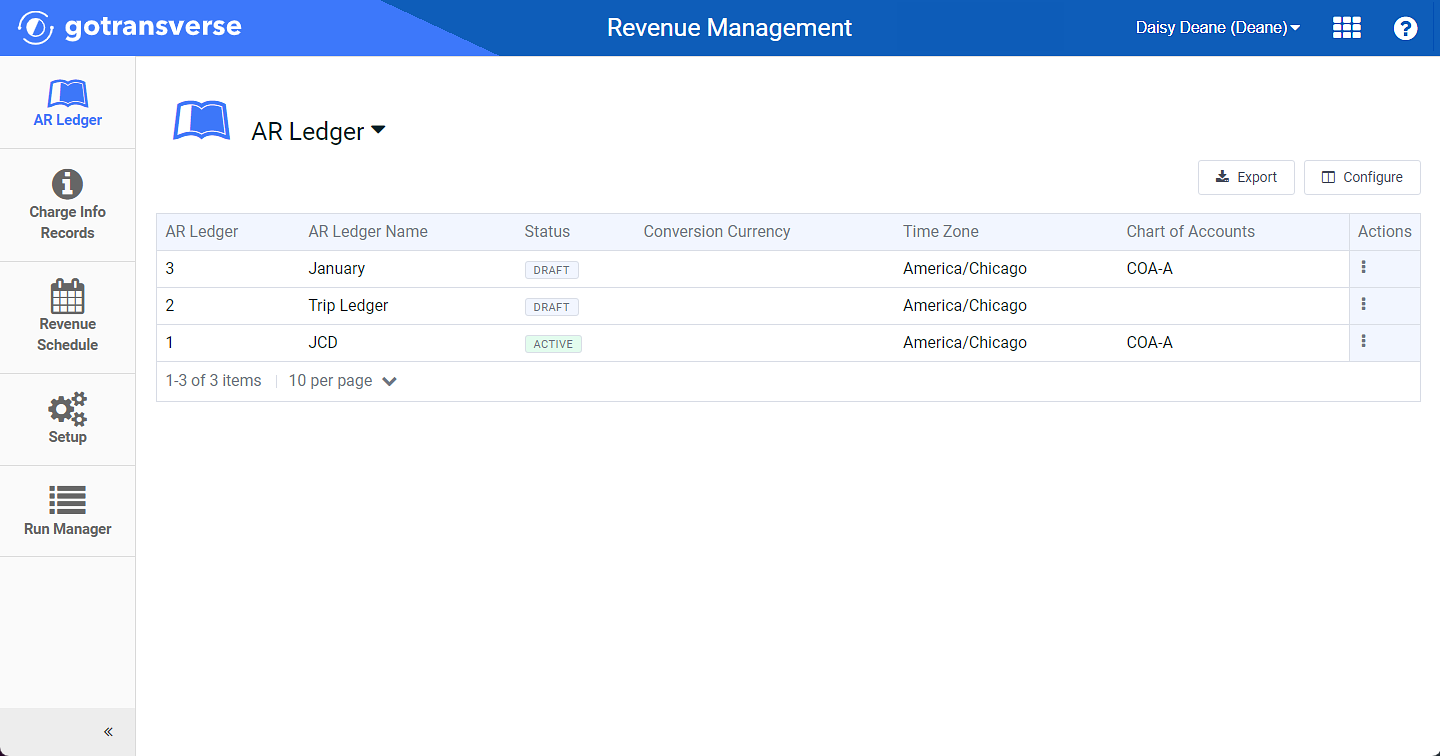
Click AR Ledger in the left pane.

AR Ledger Window
Click the
 icon in the left pane to hide it. Click the
  icon to open it.
You can manage which columns display in any table with a Configure or Columns button by clicking the button and selecting desired columns. In addition. If the table includes a Filter button, you can filter the table contents. If the table includes an Export button, you can export visible table contents (up to 50) to a CSV (comma-separated values) file. Refer to Data Tables for more information about using these features.
-
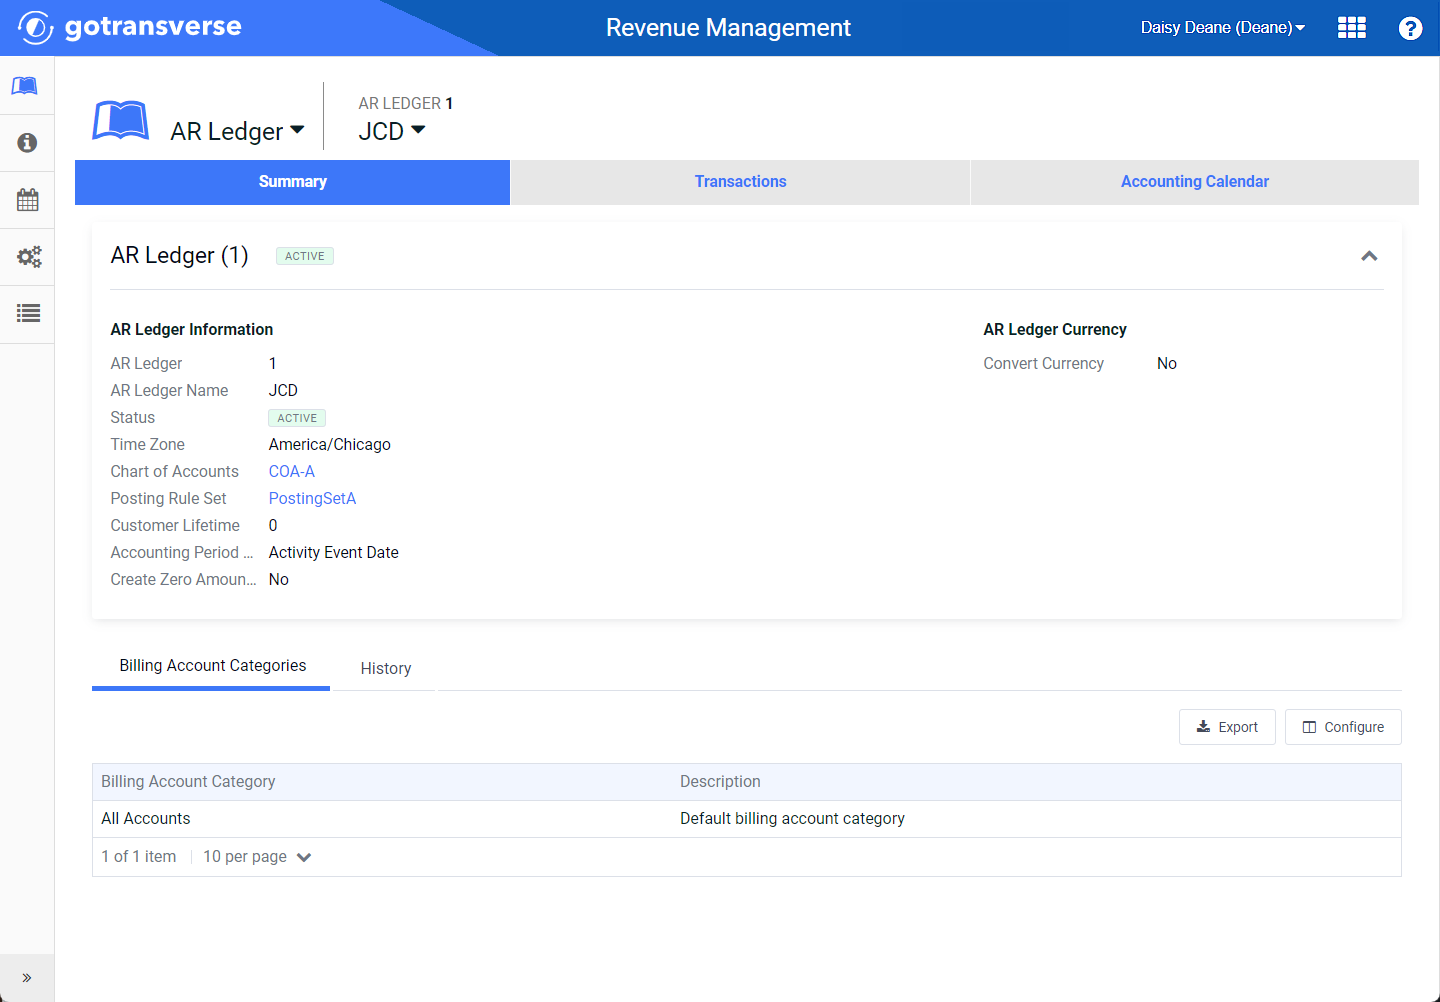
Select an AR ledger from the list to open the AR Ledger Details window.

AR Ledger Details Window
-
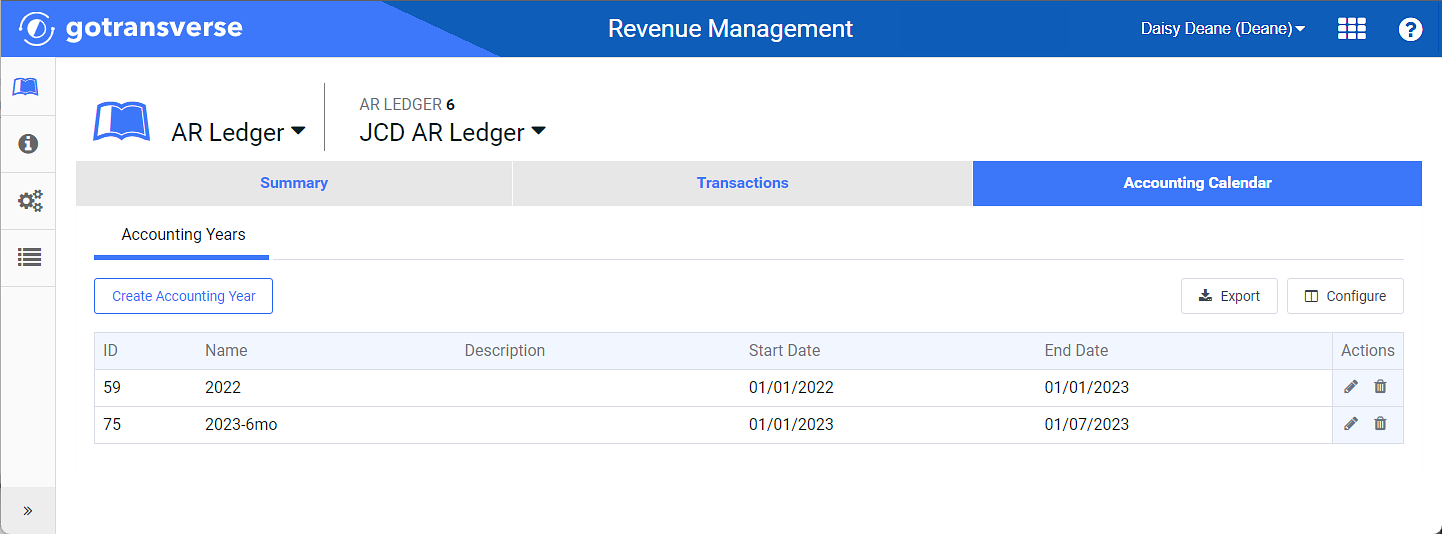
Click the Accounting Calendar tab.

Accounting Calendar Tab
-
Click the Create Accounting Year button to open the Create Accounting Year window.
-
On the Create Accounting Year window, complete the required and relevant information:

Create Accounting Year Window
Required fields are marked with an asterisk.
A
 icon next to a field name indicates that information about the field is available. Hover your mouse over the icon to see the information.
 -
Year Name* — Add a name for the accounting year. For example, 2020 or FY2020.
-
Start Date* — Enter the first date of the accounting year. It must be the first of a month. This will also be the start date of the first accounting period of the accounting year.
-
Auto Generate Periods* checkbox — Select the checkbox to generate monthly periods based on the Start Date and number of months entered in the Number of Months field. Clear the checkbox if you do not want this feature enabled.
-
Number of Months* — Enter the number of accounting periods to be automatically created for this accounting year. The first accounting period will use the value entered in the Start Date field. Each period will start with the first day of the month. You will have to option to edit the accounting period start and end dates after the accounting year is created.
-
-
Click Create. The Create Accounting Year window expands to include an Account Period section. Finalize the details of the accounting period by making any changes to periods listed under this section.

Create Accounting Year Window with Account Period Section
Columns for the accounting period include:
Required fields are marked with an asterisk.
-
Period — A unique ID number associated with the accounting period. This number is system-generated.
-
Name* — Enter a name that best reflects the accounting period.
-
Start Date* — Enter the start date of the accounting period. The start date represents the first date of the accounting period.
-
The first accounting period will have the same start date as the start date of the accounting year. For the accounting periods that follow, the start date must be the same as the end date of the previous accounting period.
-
End Date* — Enter the end date of the accounting period. The end date represents the day after the final date of the period. It must be the same as the start date of the previous accounting period.
-
Status* — Select the status of the accounting period. The options are:
-
Open — Transactions can have a posting date in that accounting period.
-
Closed— Transactions cannot have a posting date in that accounting period. The posting date will be the start date of the next open accounting period.
The default status is Open when an accounting period is created. The status cannot be changed during creation but can be edited after the accounting year is created.
-
Quarter — Enter a name best reflecting the quarter. This is used for reporting.
-
-
Complete one of the following options from the Create Accounting Year window:
-
Select Create If the accounting year and accounting periods are correct as is. This is the most common way users create their accounting years when following a calendar year.
-
Edit the accounting year information, including an optional description. Edit the accounting period name, start date, end date, and, optionally, add a quarter.
-
-
If the accounting periods were not auto-generated while creating the accounting year, manually add periods. You must have a minimum of one accounting period to save an accounting year.
-
Click Add Accounting Period. This will add a new accounting period to the bottom of the table.
-
Optionally, click Add Accounting Period link below the Account Period list multiple times to add as many accounting periods as needed.
The system will generate each new accounting period based on the previous accounting period’s end date. The first accounting period will have the same start date as the accounting year.
-
Edit each accounting period’s details as needed.
-
Click Create.
-