Create Extract
Extracts allow pulling data, usually in the form of a file, out of Gotransverse and pushing it to an external system, usually AWS S3 or SFTP.
Complete the following steps to create an extract from the Extracts window:
-
Select GT-Connector from the Gotransverse application menu
 .
.
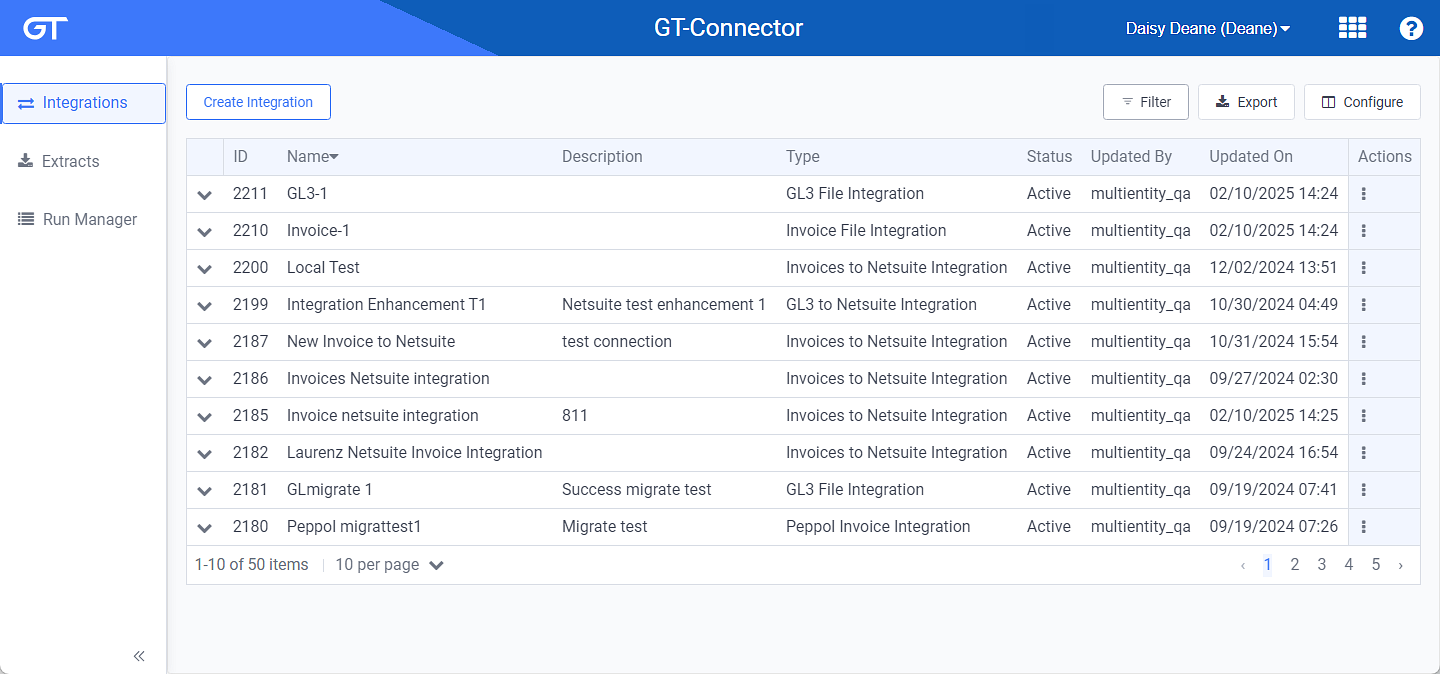
Integrations Window
Click the
 icon in the left pane to hide it. Click the
  icon to open it.
 -
Click Extracts in the left pane.

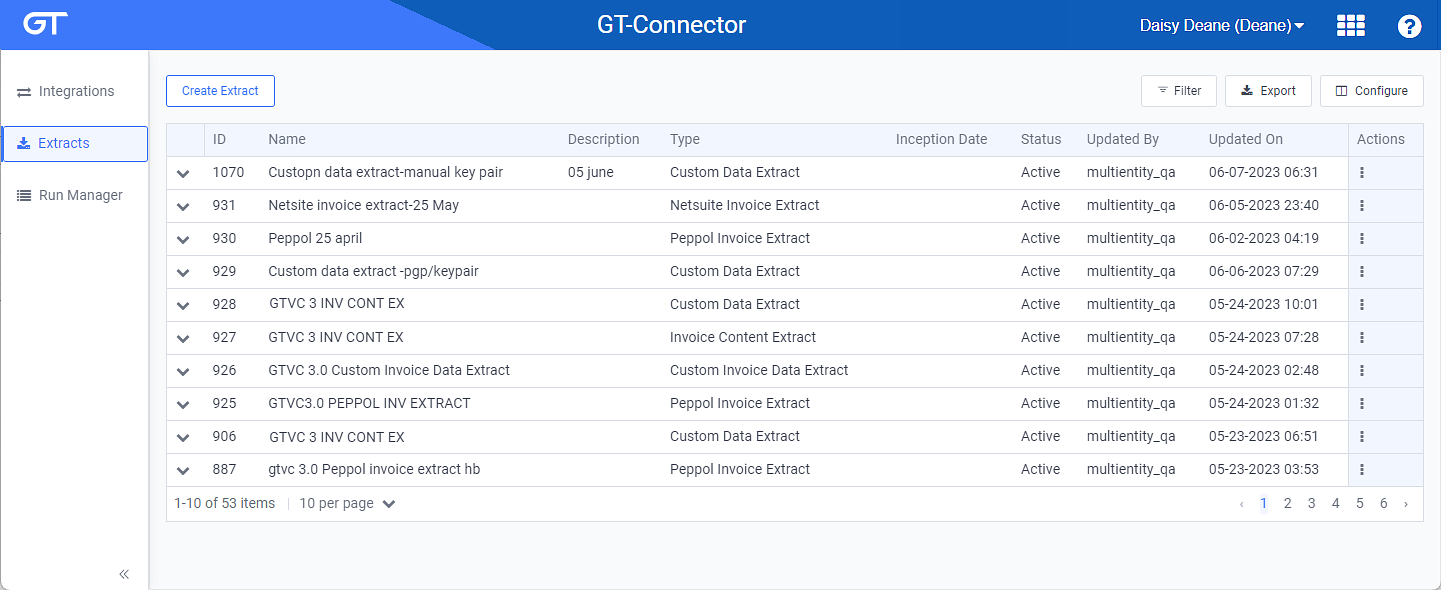
Extracts Window
You can manage which columns display in any table with a Configure or Columns button by clicking the button and selecting desired columns. In addition. If the table includes a Filter button, you can filter the table contents. If the table includes an Export button, you can export visible table contents (up to 50) to a CSV (comma-separated values) file. Refer to Data Tables for more information about using these features.
-
Click the Create Extract button to open the Create Extract window.
-
On the Create Extract window, required and relevant information:

Create Extract Window
Required fields are marked with an asterisk.
A
 icon next to a field name indicates that information about the field is available. Hover your mouse over the icon to see the information.
-
Name — Enter a name for the extract.
-
Extract Type — Select an extract type from the drop-down list. Refer to Extract Types in the GT-Connector Knowledge Base article for a list of supported extract types.
The Invoice Support Report extract type can only be run as a custom run, because it does not allow an inception date.
-
Description — Add a description of the extract.
-
Inception Date — Select a date to set a start date when the extract is run.
If specified, the extract is enabled to run on a “rolling date range”, which means that the first time that this extract runs, the GT-Connector will automatically set the start date as the specified Inception Date and the end date as the time when the job run is created, which happens shortly after the job run has been triggered by JSS. On every consecutive run, independent of the outcome of the previous run, the start date will be the end date of the previous run, and the end date will again be the time when the job run is created. Each run will select the records with the created on date between start and end date.
To account for replication lag, the end date gets offset by a factor specified in the APP_DATE_RANGE_OFFSET environment variable (end date = now - offset).
If no Inception Date is specified and an extract run is triggered, no data filter will be applied, and all data will be queried.
-
Credentials — These fields are based on the Extract Type. Complete the fields as required or desired for that extract type. Invoice Support Report Extract type does not include this section.
-
Properties — These fields are based on the Extract Type. Complete the fields as required for that extract type.
-
Max ID Range checkbox: Available only for Custom Data Extract and Custom Invoice Data Extract types.
-
Encrypt with PGP checkbox: Available only for Custom Data Extract and Custom Invoice Data Extract types. Select to enable PGP encryption. When selected, a PGP Public Key fields displays. Complete the required field.
-
Remote File Path*: Only available for certain Extract Types. Enter the file path for where the target file should be saved.
-
Format Remote File Path with Date: Only available for certain Extract Types. Complete this field to overwrite the default timestamp with a date specified by a defined format.
-
Filename*: Only available for certain Extract Types. Enter a ‘core’ file name. Date will be added to the filename.
-
Format Filename with Date: Only available for certain Extract Types. Complete this field to overwrite the default timestamp with a date specified by a defined format.
-
Auto Send checkbox: Select this checkbox to send the extract after you click the Create button.
-
-
Topic updated: 12/2023.