Edit Child Transactions
Complete the following steps to edit a child transaction that was created by splitting an AR transaction:
-
Select Payment Matching from the Gotransverse application menu
 .
. -
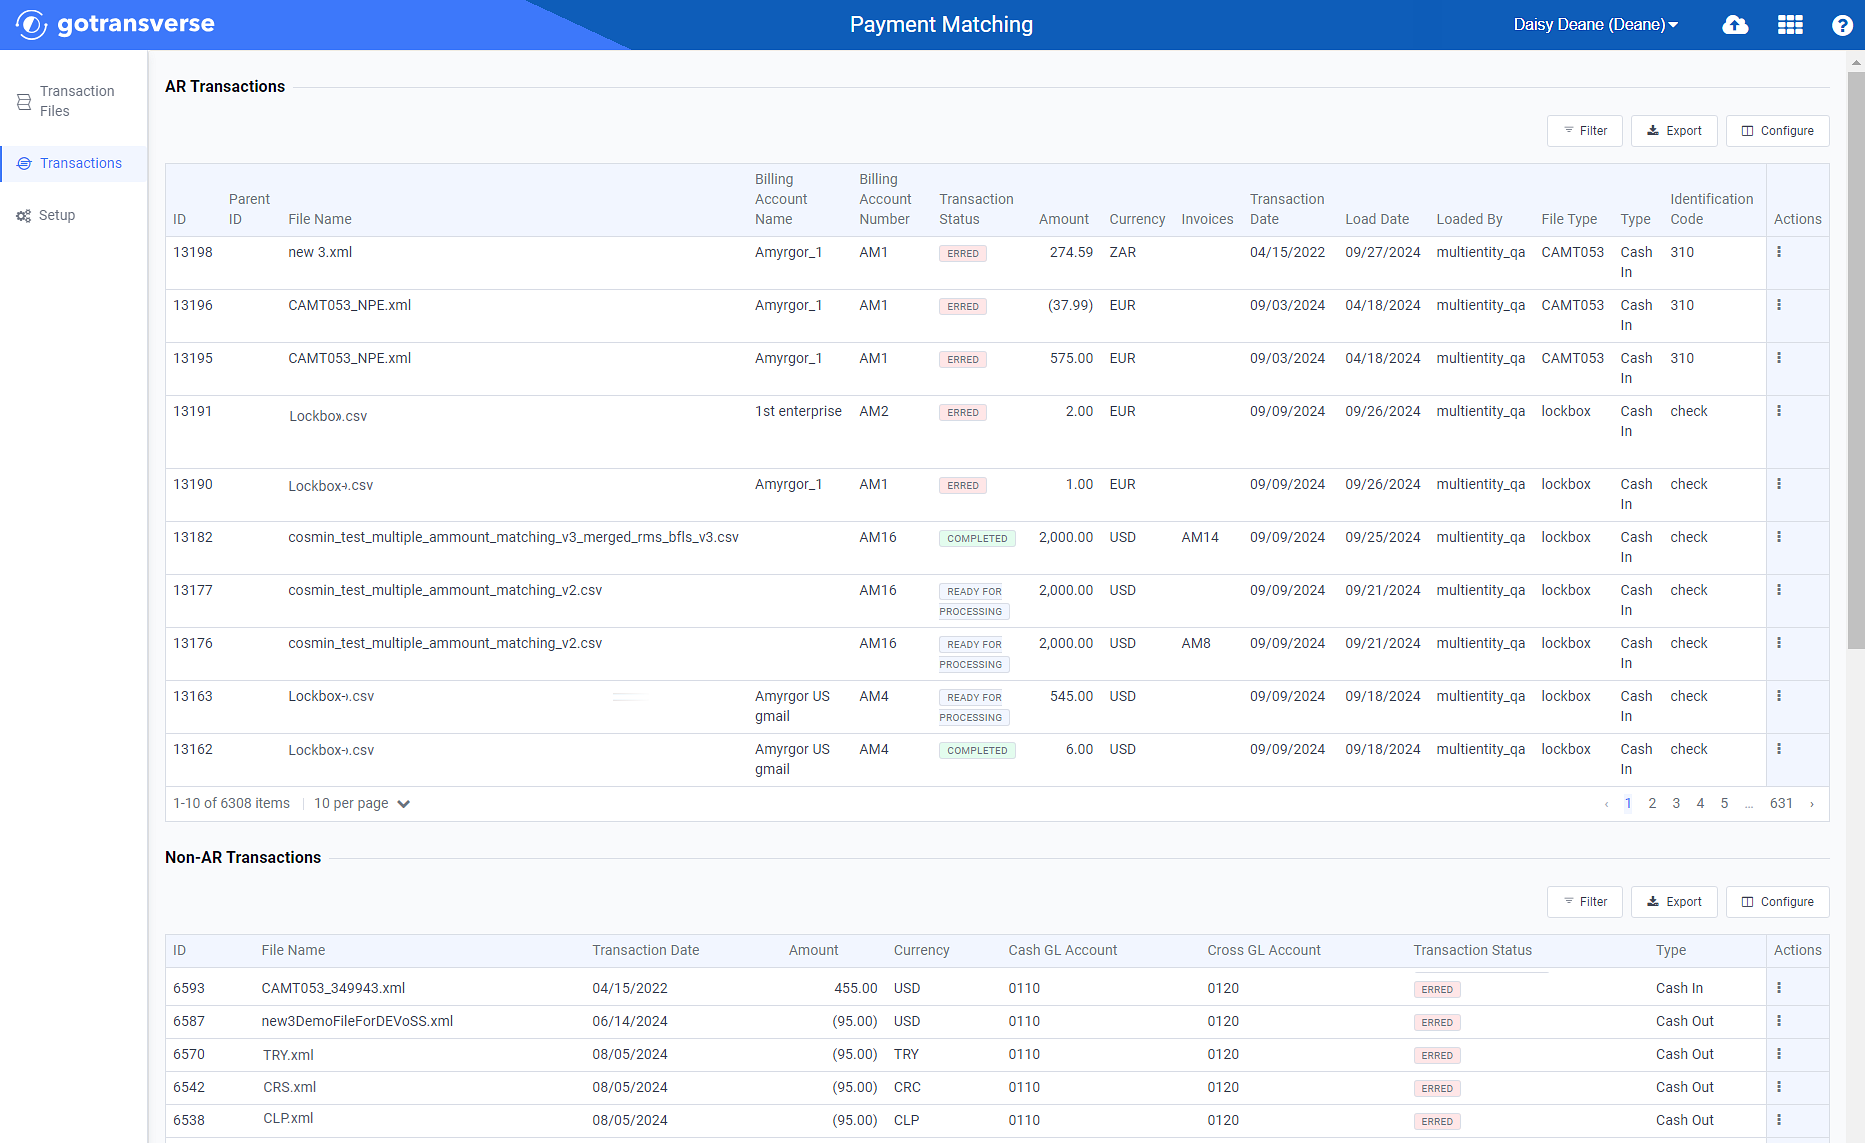
Click Transactions in the left pane. The Transactions window displays a list of transactions organized by category.

Transactions Window
Click the
 icon in the left pane to hide it. Click the
  icon to open it.
You can manage what columns are displayed in the table by clicking the Configure button and selecting column names. For AR transactions, you can display mapped tags from the transaction file as columns in the table.
You can also filter each table by clicking the Filter button to select those transactions you wish to see.
-
Select the parent transaction from the list of AR Transactions.
You can easily find transactions with child transactions by filtering the list to include only Split transactions. Refer to Filter or Export Transactions Table for more information on using the filter option.

AR Transactions List - Filtered for Split Transactions
Click the
 icon in the left pane to hide it. Click the
  icon to open it.
 -
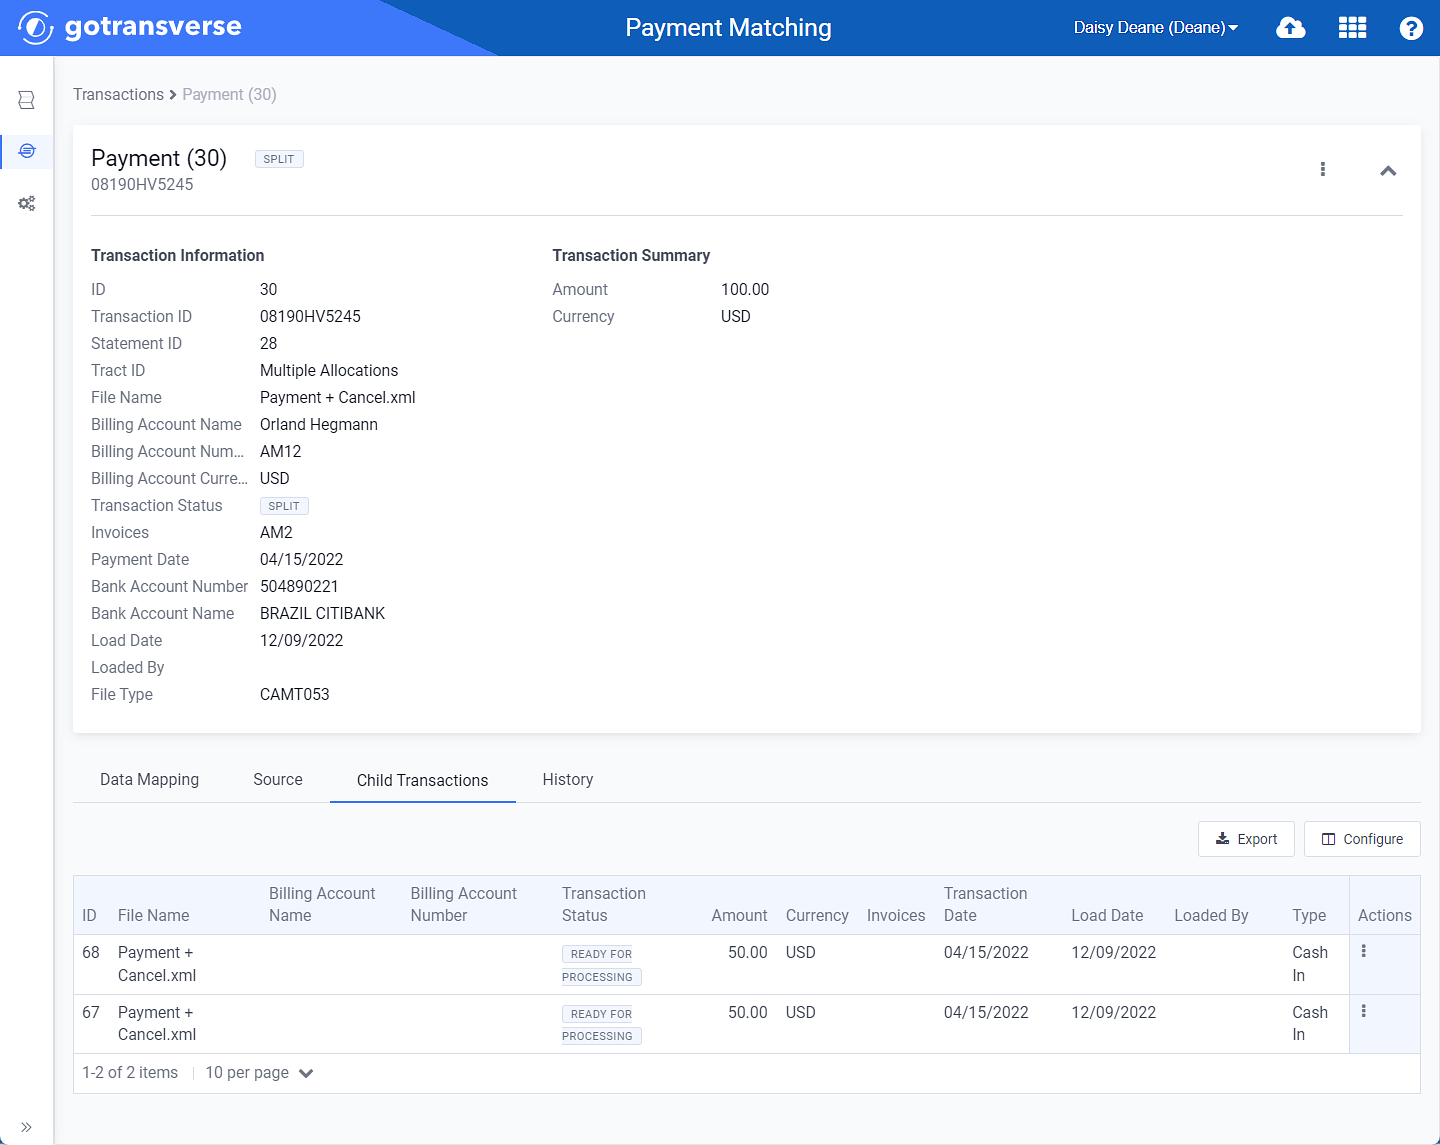
On the Payment Details window, click the Child Transactions detail tab to view all child transactions for this transaction.

Parent Transaction - Child Transactions Tab
You can expand or collapse information by clicking the
 or
or  icons, respectively.
 -
For the child transactions you wish to edit, click the
 in the Actions column and select Edit Payment to open the Edit Payment window.
Child Transactions Actions Menu - Edit Payment Option
-
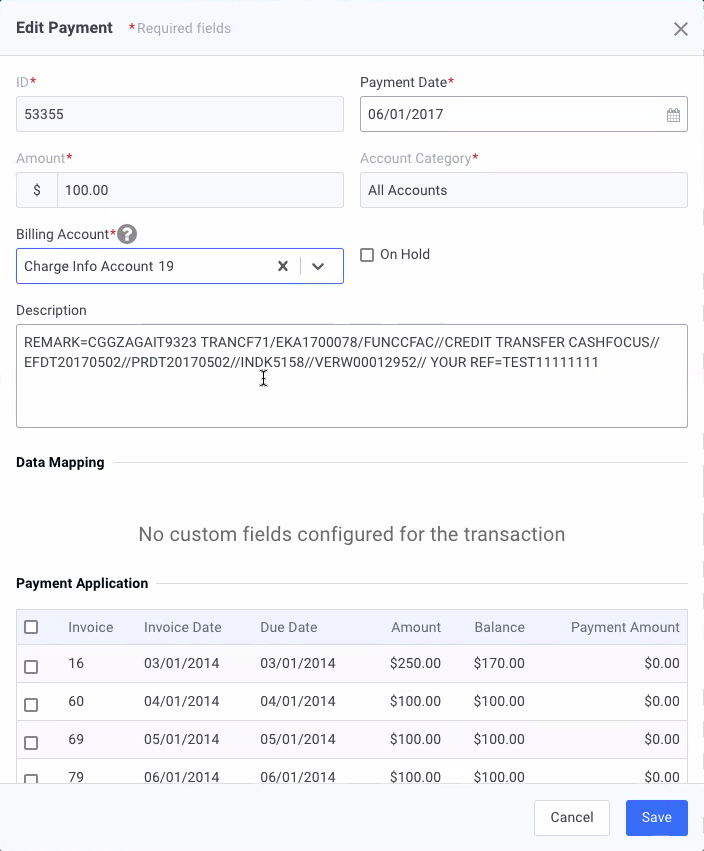
On the Edit Payment window, edit the required and relevant information as needed.

Edit Payment Window
Required fields are marked with an asterisk.
The Data Mapping section is information only.
-
Select any invoices to which you would like the transaction applied in the Payment Application section.
-
Click the Save button to save changes. The Child Transactions table is updated with any changes.